secure the nodejs app transmissions by ssl
- For quick reference: Deploy simple_socket_chat on fresh VPS, jump to buttom of this article
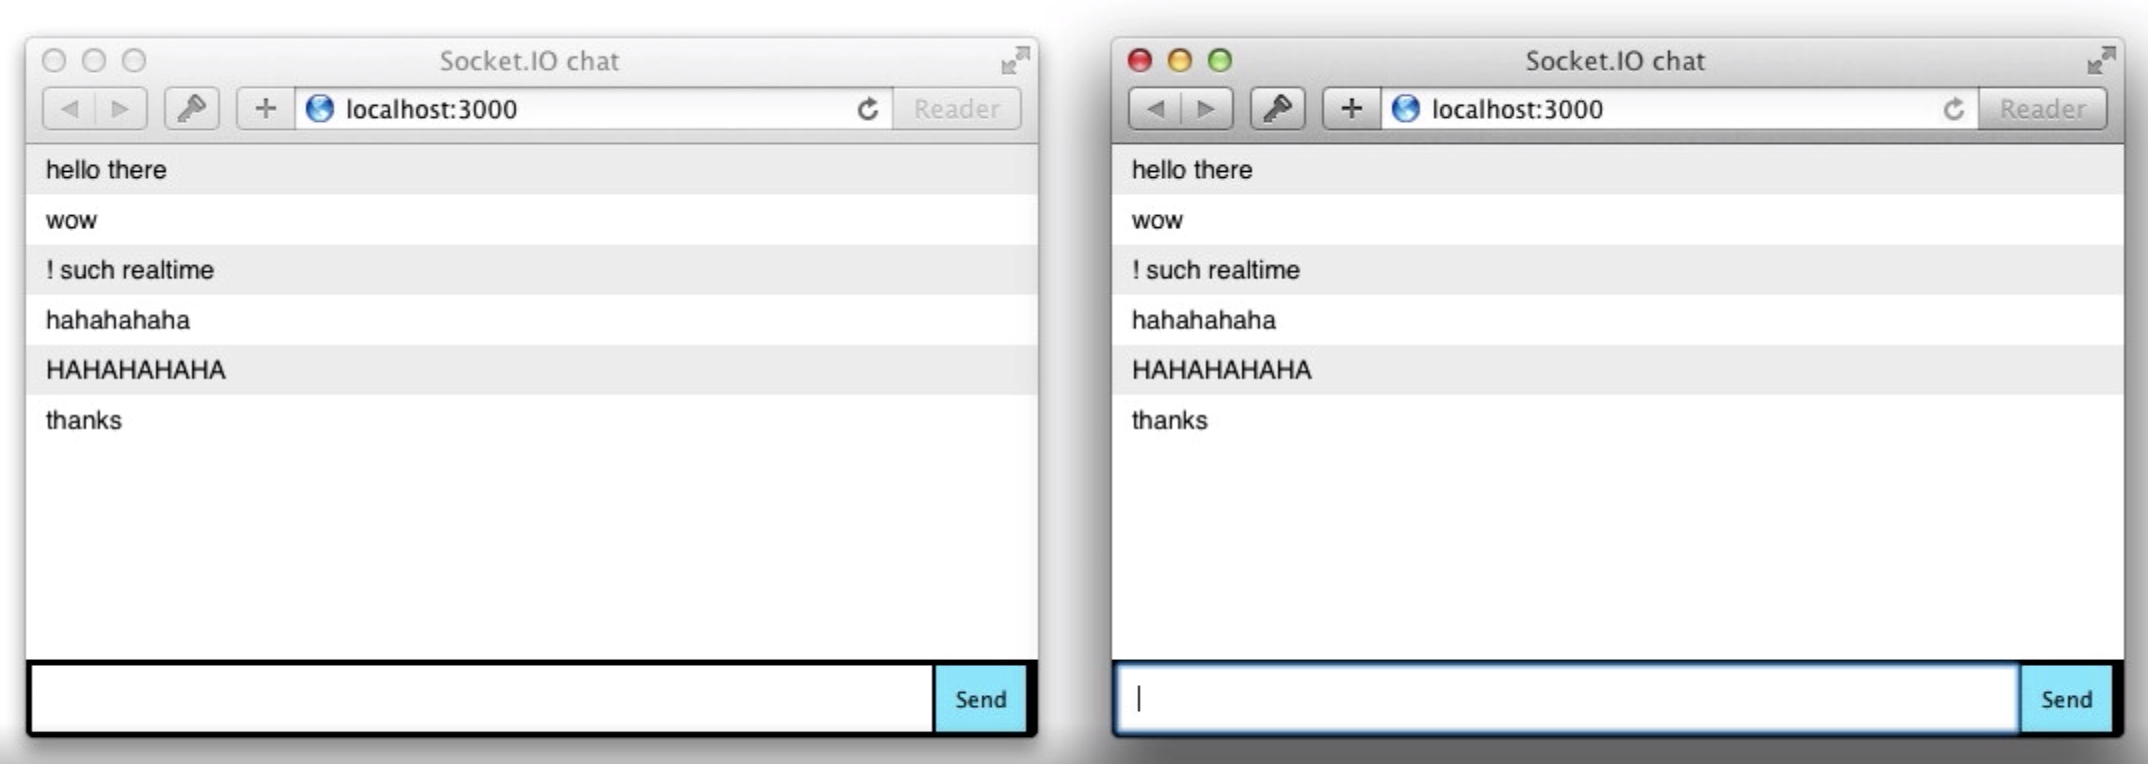
1. make a simplest socket.io app
ref: https://socket.io/get-started/chat/
basic nodejs app:
- use the Node.JS web framework
expressto html as client end. - create a
package.jsonmanifest file that describes our project npm install express@4.15.2- create an
index.jsfile that will setup our application Theindex.jsfile supply the html content of “Hello world”. - create a
index.htmlfile and modify theindex.jsto serve theindex.html.
Insert socket.io:
The socket.io has a service end (socket.io) and client end (socket.io-client).
- install:
npm install socket.io - in
index.js, initialize a new instance ofsocket.ioby passing thehttp(the HTTP server) object. - listen on the
connectionevent for incoming sockets, and I log it to the console. - in
index.html, add the snippet aboutvar socket = io();for loading the socket.io-client.
Emitting events:
Send and receive any events we want, with any data. Any objects that can be encoded as JSON will do, and binary data is supported too.
- make the server get user message as a chat message event, add the emitting code in
index.html. - in
index.jswe print out the chat message event
Broadcasting:
- send the message to everyone, including the sender:
io.emit('chat message', msg); - in client, make it capture a
chat messageevent:socket.on('chat message', function(msg){ ...
 For more details: https://socket.io/get-started/chat/
1.2 Deploy a nodeJS app in hand
You could install node and npm, download your dependencies by running npm install in the command line (first declare them within your package.json) only then users can run your script. This is how you do development in Node.js, or deploy to a development server. See using npm. You could automate that with a shell script if that is what you are after.
However, when distributing programs to end-users that might not be the best approach. Linux users are used to a package (.deb for instance) and Windows users are used to an .exe or a setup wizard.
That is why I recommended the tools below. I also assumed you were targeting Windows as this is less of a problem is unix-like environments.
If you want a single file (.exe), pkg and nexe are made for that purpose. These Node.js tools are used by the developer to compile JavaScript code into a single executable binary that is convenient for end-users and Windows deployment. The resulting .exe file is very light and does not require node to be installed on the end-user’s computers.
Electron along with electron-packager can produce setup wizards, but it installs a lot of files even for the smallest program. Your program will include all of node and webkit, that is why it produces heavy installs.
NSIS can also create a setup wizard, it is simple and does common stuff well (copying files, running shell scripts).
2. Take nginx as a web server, make the nodejs app accessible
Even though the Caddy is the convenient server for https and the certificate application. The nginx is still the wider-used solution for web service. ref: https://www.sitepoint.com/configuring-nginx-ssl-node-js/
Configure the nginx for nodejs service on port 3000
configure the nginx.conf file, and add a server:
server {
  listen       80;
  server_name  <your_domain_name>;

  location / {
    proxy_pass http://localhost:3000;
    proxy_http_version 1.1;
    proxy_set_header Upgrade $http_upgrade;
    proxy_set_header Connection 'upgrade';
    proxy_set_header Host $host;
    proxy_cache_bypass $http_upgrade;
  }
}
The location / block tells NGINX what to do with any incoming request. We use proxy_pass to point to our Node.js application, which is running at http://localhost:3000 in this case.
3. Secure the nodejs app by https
- Install the certbot: https://certbot.eff.org/lets-encrypt/centosrhel8-nginx (select the nginx and the os of web server)
- to configure ssl by
certbot, runsudo /usr/local/bin/certbot-auto --nginx - obtain the below means success:
IMPORTANT NOTES:
 - Congratulations! Your certificate and chain have been saved at:
   /etc/letsencrypt/live/<yourdomain>/fullchain.pem
   Your key file has been saved at:
   /etc/letsencrypt/live/<yourdomain>/privkey.pem
   Your cert will expire on 2020-01-18. To obtain a new or tweaked
   version of this certificate in the future, simply run certbot-auto
   again with the "certonly" option. To non-interactively renew *all*
   of your certificates, run "certbot-auto renew"
- restart the service of nginx should make the ssl transmission enabled.
Note: the ssl goes on the 443 port by default. Check the port occupy by
netstat -tulnp. If the 443 is occupied, you may change the 443 into other port and specify the port when you aquire the web in web browser. e.g. :https://your_domain.com:port_numThe transmission should be secured now. tip: You may need a simple CLI tool for ensuring that a given script runs continuously (i.e. forever).
4. Secure the socket.io
ref: node-js-socket-io-with-ssl
5. Bonus more: streaming binary data using socket-io
ref: streaming binary data using socket-io
6. Bonus: request-response illustration figure

read more about Nginx Configuration:
1. install multiple domains on a Nginx server(debian or ubuntu):
https://linuxhint.com/install-multiple-domains-nginx-server/
2. revoke certifications
https://bbs.huaweicloud.com/blogs/124303 (in Chinese)
3. handle multiple domains under nginx:
# How To Set Up Nginx Server Blocks on CentOS 7
=========== This article shows:
- deploy web via nginx
- multiple domains with nginx
- configure SSL + nginx to offer https service
OS: CentOS 7 (Linux)
check centos version:
# rpm -q centos-release
=========== preparations: your source files for web your domain name: urdomain1.com; urdomain2.com
===========
install nginx
#yum install nginxconfigure the firewall depends on the firewall software installed in the system on centos, check status:
# sudo systemctl status firewalld
my firewalld is in active. if it’s active, ref: https://www.digitalocean.com/community/tutorials/how-to-set-up-a-firewall-using-firewalld-on-centos-8
- configure the file system Multiple domains require to have multiple directories. Create multiple directories to serve content through multiple domains. -p flag is necessary to create parent directories
#mkdir -p /var/www/urdomain2.com/html
- assign ownership to the directories.
  # echo $USER
  # sudo chown -R $USER:$USER /var/www/urdomain1.com/html
  # sudo chown -R $USER:$USER /var/www/urdomain2.com/html
Change the permission of the directories:
  # sudo chmod -R 755 /var/www/urdomain1.com/html
  # sudo chmod -R 755 /var/www/urdomain2.com/html

  # sudo chmod -R 755 /var/www/urdomain1.com/html
  # sudo chmod -R 755 /var/www/urdomain2.com/html
put the index.html into dirs created in last step
Create New Server Block Files Server block files are what specify the configuration of our separate sites and dictate how the Nginx web server will respond to various domain requests.
To begin, we will need to set up the directory that our server blocks will be stored in, as well as the directory that tells Nginx that a server block is ready to serve to visitors. The sites-available directory will keep all of our server block files, while the sites-enabled directory will hold symbolic links to server blocks that we want to publish. We can make both directories by typing:
  # mkdir /etc/nginx/sites-available
  # mkdir /etc/nginx/sites-enabled
Next, we should tell Nginx to look for server blocks in the sites-enabled directory. To accomplish this, we will edit Nginx’s main configuration file and add a line declaring an optional directory for additional configuration files:
# sudo nano /etc/nginx/nginx.conf
Add these lines to the end of the http {} block:
    include /etc/nginx/sites-enabled/*.conf;
    server_names_hash_bucket_size 64;
- Create the First Server Block File:
   sudo cp /etc/nginx/conf.d/default.conf /etc/nginx/sites-available/urdomain1.com.conf
   sudo nano /etc/nginx/sites-available/urdomain1.com.conf
server {
    listen  80;

    server_name urdomain1.com;

    location / {
        root  /var/www/urdomain1.com/html;
        index  index.html index.htm;
        try_files $uri $uri/ =404;
    }

    error_page  500 502 503 504  /50x.html;
    location = /50x.html {
        root  /usr/share/nginx/html;
    }
}
- Enable the New Server Block Files:
  ln -s /etc/nginx/sites-available/urdomain1.com.conf /etc/nginx/sites-enabled/urdomain1.com.conf
  ln -s /etc/nginx/sites-available/urdomain2.com.conf /etc/nginx/sites-enabled/urdomain2.com.conf

  sudo systemctl restart nginx
- configure dns go to dns service setting, add record for the domains: urdomain1.com & urdomain2.com if tesing locally, use hosts file: sudo nano /etc/hosts
add below:
  127.0.0.1 urdomain1.com
  127.0.0.1 urdomain2.com
   # systemctl restart nginx
   # netstat -tulnp
11. Secure Nginx with Let’s Encrypt on CentOS 7
Installing the Certbot Let’s Encrypt Client
  yum install epel-release

  yum install certbot-nginx
Setting up Nginx(skip this if you’ve done)
 yum install nginx
 systemctl start nginx
 vi /etc/nginx/nginx.conf
follow the ref link
Updating the Firewall
follow the ref link
Obtaining a Certificate
certbot --nginx -d example.com -d www.example.com -d yourdomain.com
Updating Diffie-Hellman Parameters
Setting Up Auto Renewal
Let’s Encrypt’s certificates are only valid for 90 days. set up a regularly run command to check and renew.
use cron, a standard system service for running periodic jobs. Tell cron what to do by opening and editing a file called a crontab.
sudo crontab -e
Your text editor will open the default crontab which is an empty text file at this point. Paste in the following line, then save and close it:
crontab
. . .
15 3 * * * /usr/bin/certbot renew --quiet
The 15 3 * * * part of this line means “run the following command at 3:15 am, every day”. You may choose any time.
The renew command for Certbot will check all certificates installed on the system and update any that are set to expire in less than thirty days. --quiet tells Certbot not to output information or wait for user input.
cron will now run this command daily. All installed certificates will be automatically renewed and reloaded when they have thirty days or less before they expire.
How To Secure Nginx with Let’s Encrypt on CentOS 7
ref: https://www.digitalocean.com/community/tutorials/how-to-secure-nginx-with-let-s-encrypt-on-centos-7
How To Set Up a Node.js Application for Production on CentOS 7
YourQuestion:
https://www.digitalocean.com/community/tutorials?q=yourQuestion
modify the yourQuestion in the url above, and digitalocean.com will teach you well.
Deploy simple_socket_chat on fresh VPS
================================== For quick reference: Deploy simple_socket_chat on fresh VPS
install nodejs env with newer version ref: https://matthiashoys.wordpress.com/2020/01/15/how-to-upgrade-node-js-from-v6-to-v12-on-centos-linux-7/ sudo yum module install nodejs node –version
npm install the simple_socket_chat cd to the nodejs proj folder $ npm install
test the nodejs app $ node app.js
deploy on nginx ref: This blog
ssl the web with certbot ref: This blog
systemctl ref: https://nodesource.com/blog/running-your-node-js-app-with-systemd-part-1/
[Unit]
Description=hello_env.js - making your environment variables rad
Documentation=https://example.com
After=network.target

[Service]
Environment=NODE_PORT=3001
Type=simple
User=ubuntu
ExecStart=/usr/bin/node /home/ubuntu/hello_env.js
Restart=on-failure

[Install]
WantedBy=multi-user.target